Friday, 23 October 2015

Week 3: Candid Photo

Candid photo: There was this moment where they were arguing about the work i had to do for this photography class. I captured this, moving myself to centre them in the frame and to give the feel of home, because of the surroundings around them.

Camera Settings
f/stop: 3.4
shutter: 1/100
ISO: 400

Taking this photo was difficult, because i wanted to show the expression that i wanted in this photo. I experimented with what i wanted the viewers to see in this photo, whether i wanted to show the whole lounge or just these two subjects in the frame.


I liked the fact that two photos showed expression, but i wanted the happy feeling in them. 
I captured the moments of conflict, where they were arguing about the paper.
I could have done better just positioning myself, to show more of the left side, so that they will be on the side of the frame.

Thursday, 22 October 2015

Experimentation with slow shutter: Art of light

Took this photo into camera raw and edited this to get the black in the background and then cropped the image to take away the legs.

I used the table outside to keep the camera stable.


settings used for original photo:
f/stop: 18
shutter: 8.0
ISO: 800


Wednesday, 21 October 2015

Self directed task: Narrow and Wide of an object


ISO: 400
F/stop: 4.0
Shutter: 1/2000


ISO: 400
F/stop: 4.0
Shutter: 1/2000


Week 3: Shutter priority - The Art of Light (Tutorial)


I watched a tutorial on how to get this effect ut, doing it, i kind of knew how to do it. When i looked more into this tutorial, this man showed me what hes been working on , and something thati didnt quite understand about the tree that he was trying to get.

Lastnight i experimented with quite some stuff and drawings, and this is the one i like the most. Even having me far back in the frame i am also centred. This also gives the audience an insight of where abouts im standing!

I set the camera on the camera case to get on the same level as crouching down. Using this method, i took various photos to get the photo that i wanted. Here are some of the experiments that i have taken.


Week 2: Self directed shutter practices -

f/stop: 3.5
shutter: 1/250sec
ISO- 6400

f/stop: 3.5
shutter: 1/250sec
ISO: 400

I used a faster shutter speed to get the effect of freezing movement.

Afew photos that i have taken didnt quite work because the subject kept going out of the frame.
I placed both subjects in the middle where i got my sister to flick her hair and brother to jump.

Thursday, 8 October 2015

Week 2: Freeze Motion

f/stop: 18
Shutter: 1/60
ISO: 400

f/stop: 14
Shutter: 1/100
ISO: 400


f/stop: 8
Shutter: 1/250
ISO: 400


f/stop: 8
Shutter: 1/500
ISO: 400


Task was to freeze motion using the shutter speeds given to us.
Using the different settings that has been allocated i found that using the shutter speed of 1/60, slows down the movement of what has been dropped and to actually freeze the movement of the black pipes that have been dropped, it was best to use 1/500, to actually freeze that movement.


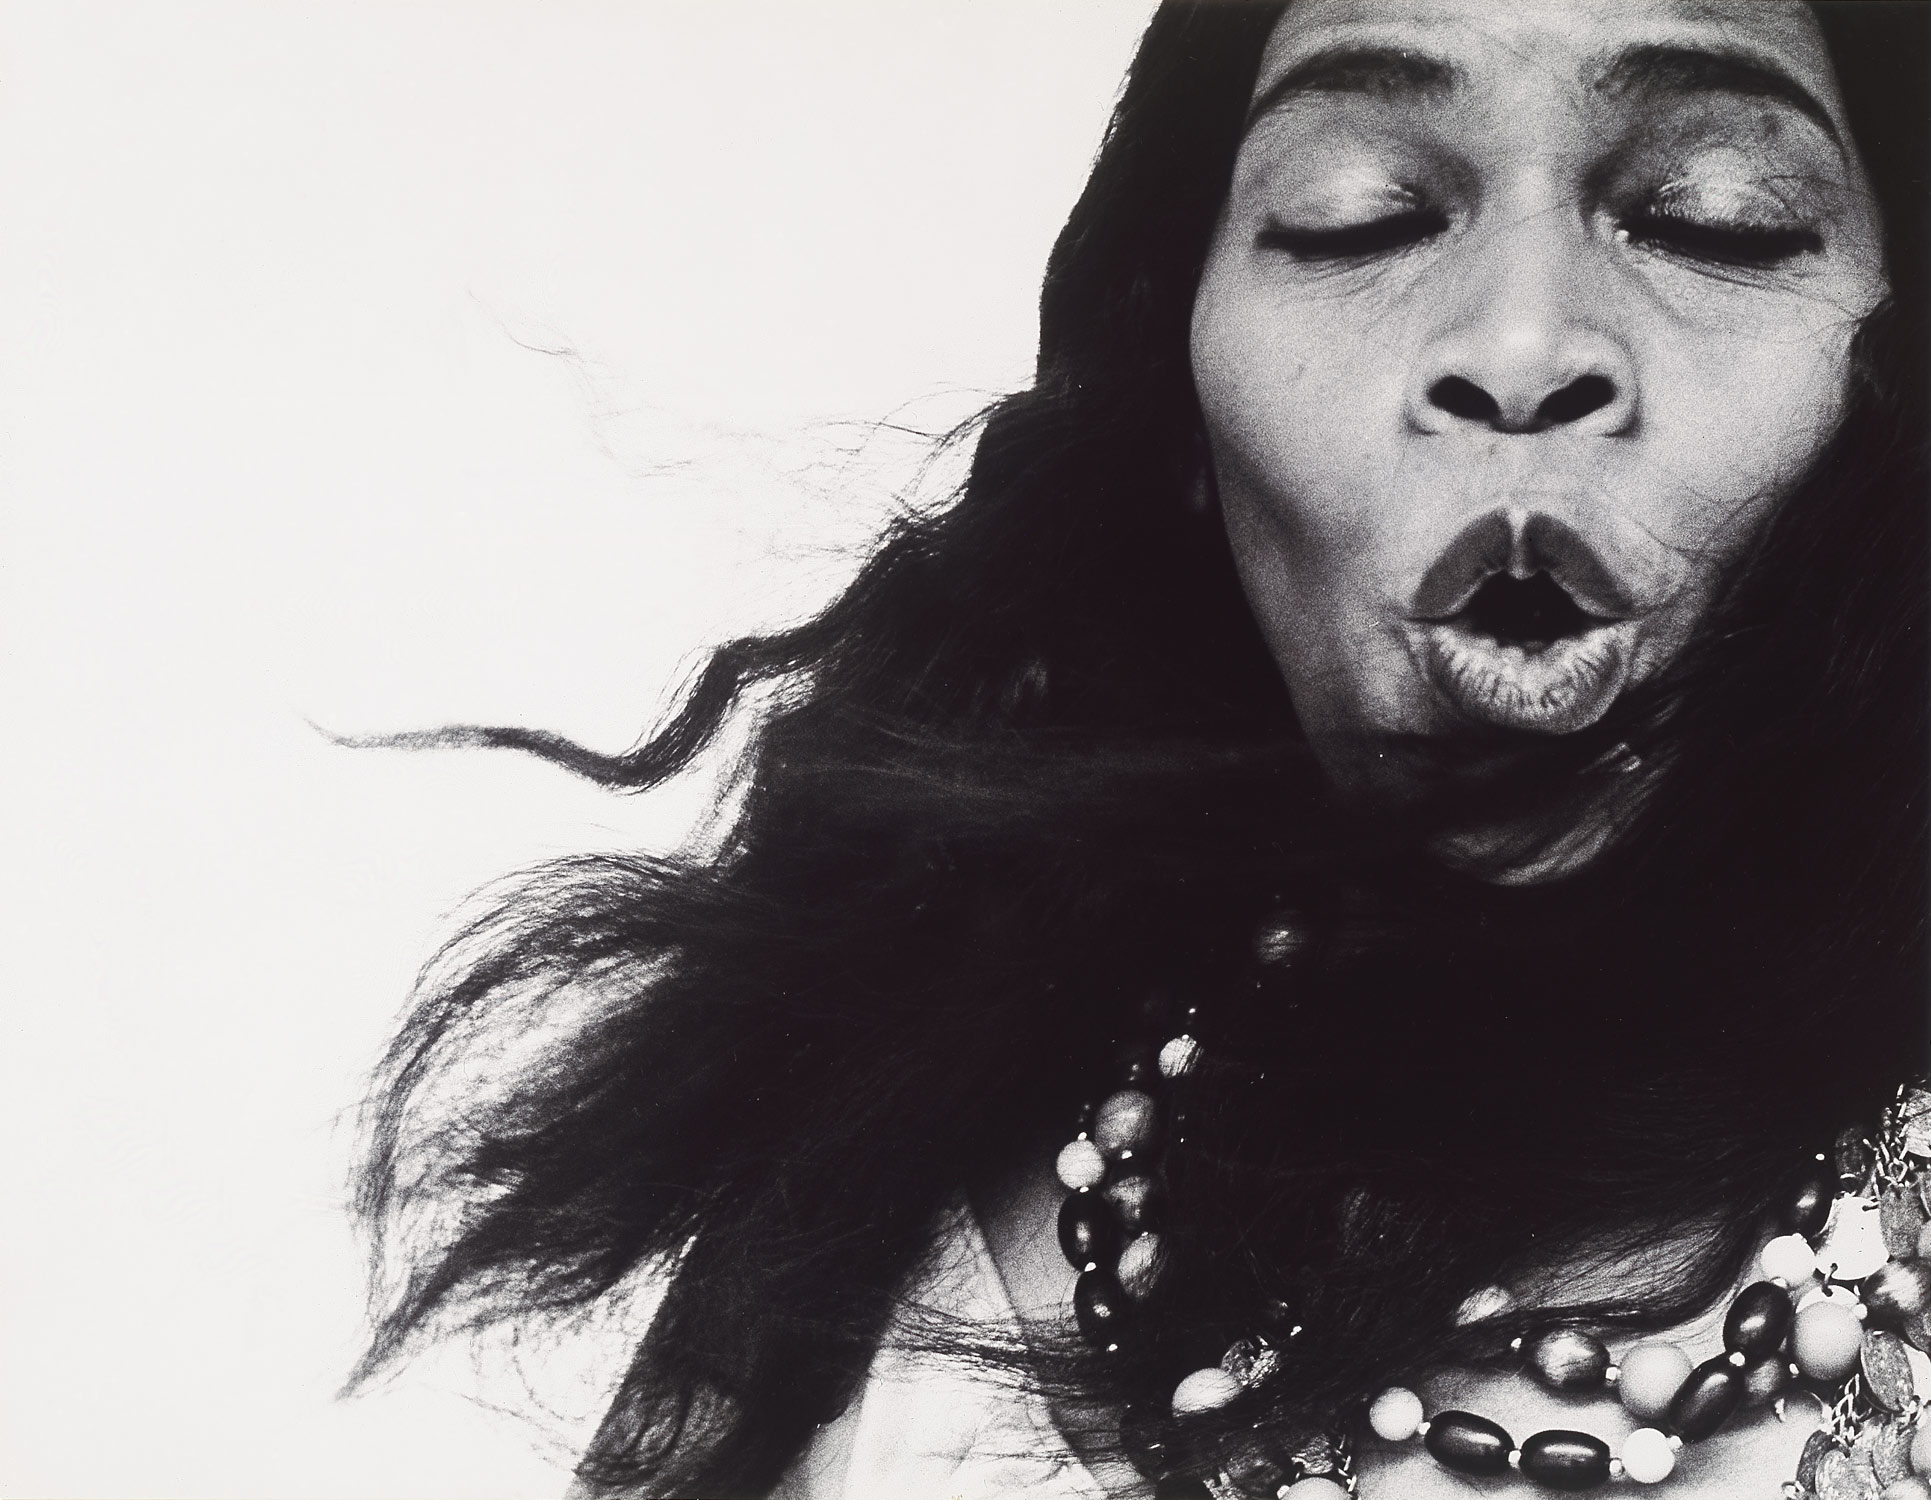
Week 2: Richard Avedon (Shutter Priority)

Original

Remake

Camera settings:
F/stop: 8.0
Shutter speed: 1/80
ISO: 400

I told the subject to stand on the right side of the camera, doing exactly the same facial as the person above. The camera was held a eye level, using the zoom ring to get right to her face.

Photo was taken into photoshop to give the black and white look.